This recipe for Potato Croquettes with Chihuahua Cheese hails from a London kitchen where a precious wife, mother, and trained Chef creates the most mouth watering and heartfelt family meals.
Susana Villasuso, known to her close friends as Susy, returned back to London after living for several years in NYC. Her Mexican heritage and love for family are evident in the beautiful meals and dishes she creates at home.

Susana Villasuso
London, England
Instagram: @holasus
One of the most special memories of my childhood was coming back from school and looking forward to seeing what my Mum had prepared for us, she would always cook fresh delicious food from scratch.
Potato croquettes served with a simple green salad were always a favorite of mine; my grandma used to make them as well. This is just one of those recipes that you keep close to your heart, I hope you make them for your family and love them as much as I do.
In this version I wanted to have a cheesy melted center when biting into them, the touch of San Miguel nut and spice blend in the filling as well as in the crispy coating give it that extra depth of flavor and dreamy texture.
Ingredients
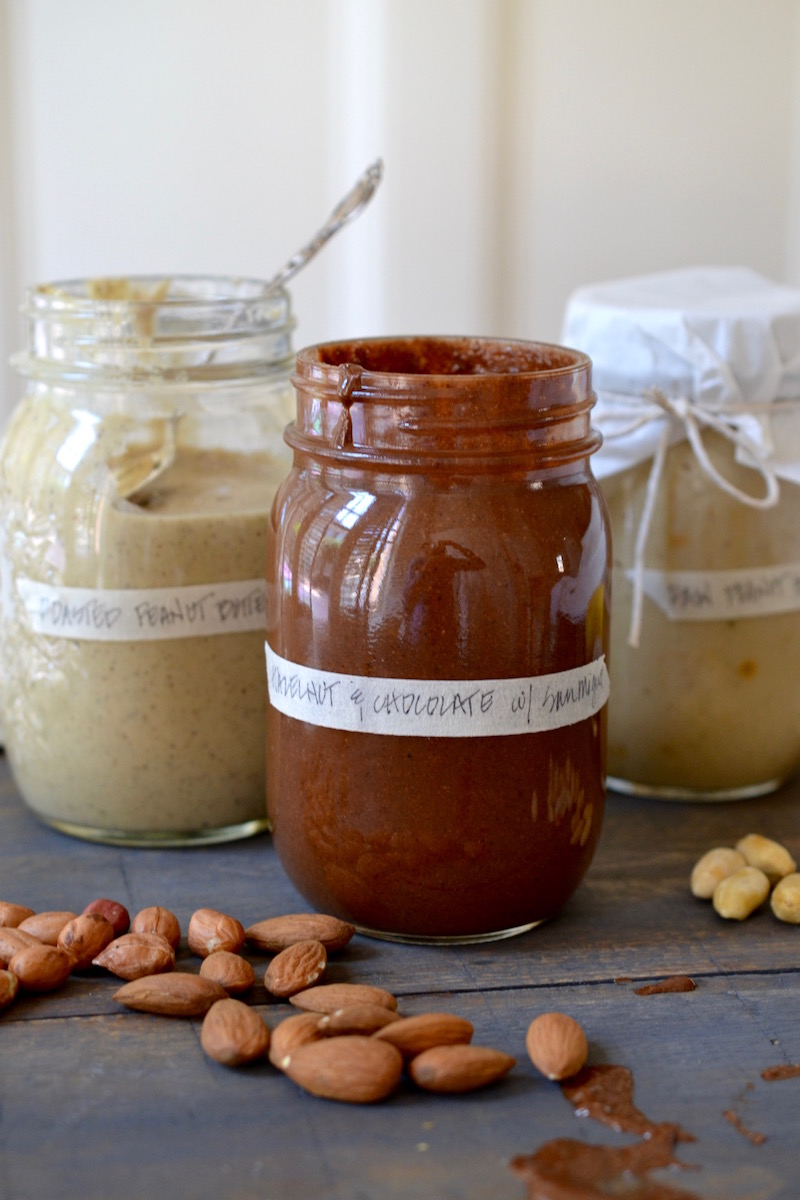
- 1 tbsp of San Miguel nut and spice mix
- 3 large potatoes
- 1 tbsp of creme fraiche
- 1/2 white onion, finely diced
- handful of fresh marjoram, finely chopped.
- 2 tsp of rapeseed oil
- 1 7oz. (200 gms) block of Chihuahua cheese
- 1 1/2 cup of organic all-purpose flour
- 2 free range eggs
- 3/4 cup of panko bread crumbs
- 1/4 cup of San Miguel nut and spice mix
- Maldon salt and black pepper, for seasoning
- canola oil, for frying
Instructions
- Start by washing and peeling your potatoes, place them in a deep saucepan covered with water and a pinch of maldon salt, boil them until soft.
- Once your potatoes are ready, drain the water and place them in a bowl, mash them roughly with the help of a fork and add 1 tbsp of San Miguel nut and spice mix, the creme fraiche, onion, marjoram, rapeseed oil, pinch of Maldon salt, and black coarse pepper. Mix it all really well with a spoon.
- Prepare 3 bowls; one with all-purpose flour, one with the whisked eggs, and the last one with the panko bread crumbs combined with 1/4 cup of San Miguel nut and spice mix.
- Cut your cheese into small cubes that would fit into the center of your potato croquettes. (see photo)
- Get a spoonful of potato mixture in your hands and form a patty, pinch the center and place your cheese cube in the middle, close the patty and mold it with your hands to form the croquettes. Repeat the same procedure with the rest of the potato mixture.
- Pass your croquettes through the flour, then the egg mix, and finally through the panko & San Miguel blend coating, repeat the same with all of your croquettes.
- Prepare a frying pan and add enough canola oil for shallow frying. Get your oil hot and start frying your croquettes, turning them over when they get crispy and golden on that side, keep turning them until they are crispy all around.
- You can serve these delicious croquettes with a green salad for a full meal or as an appetizer with a bit of garlic mayo on the side, enjoy!
Notes
Chihuahua Cheese, also known as Queso Chihuahua, is a soft cheese named for its origins from Chihuahua, Mexico, a northern region of the country. It is typically made from cow's milk and has a salty, tangy flavor. Known for it's soft melty texture, Chihuahua cheese is the perfect center for these croquettes as the cube of cheese melts into a creamy, flavorful bite. If Chihuahua cheese is not available, a good substitute would be Monterrey Jack or a soft, white Cheddar.